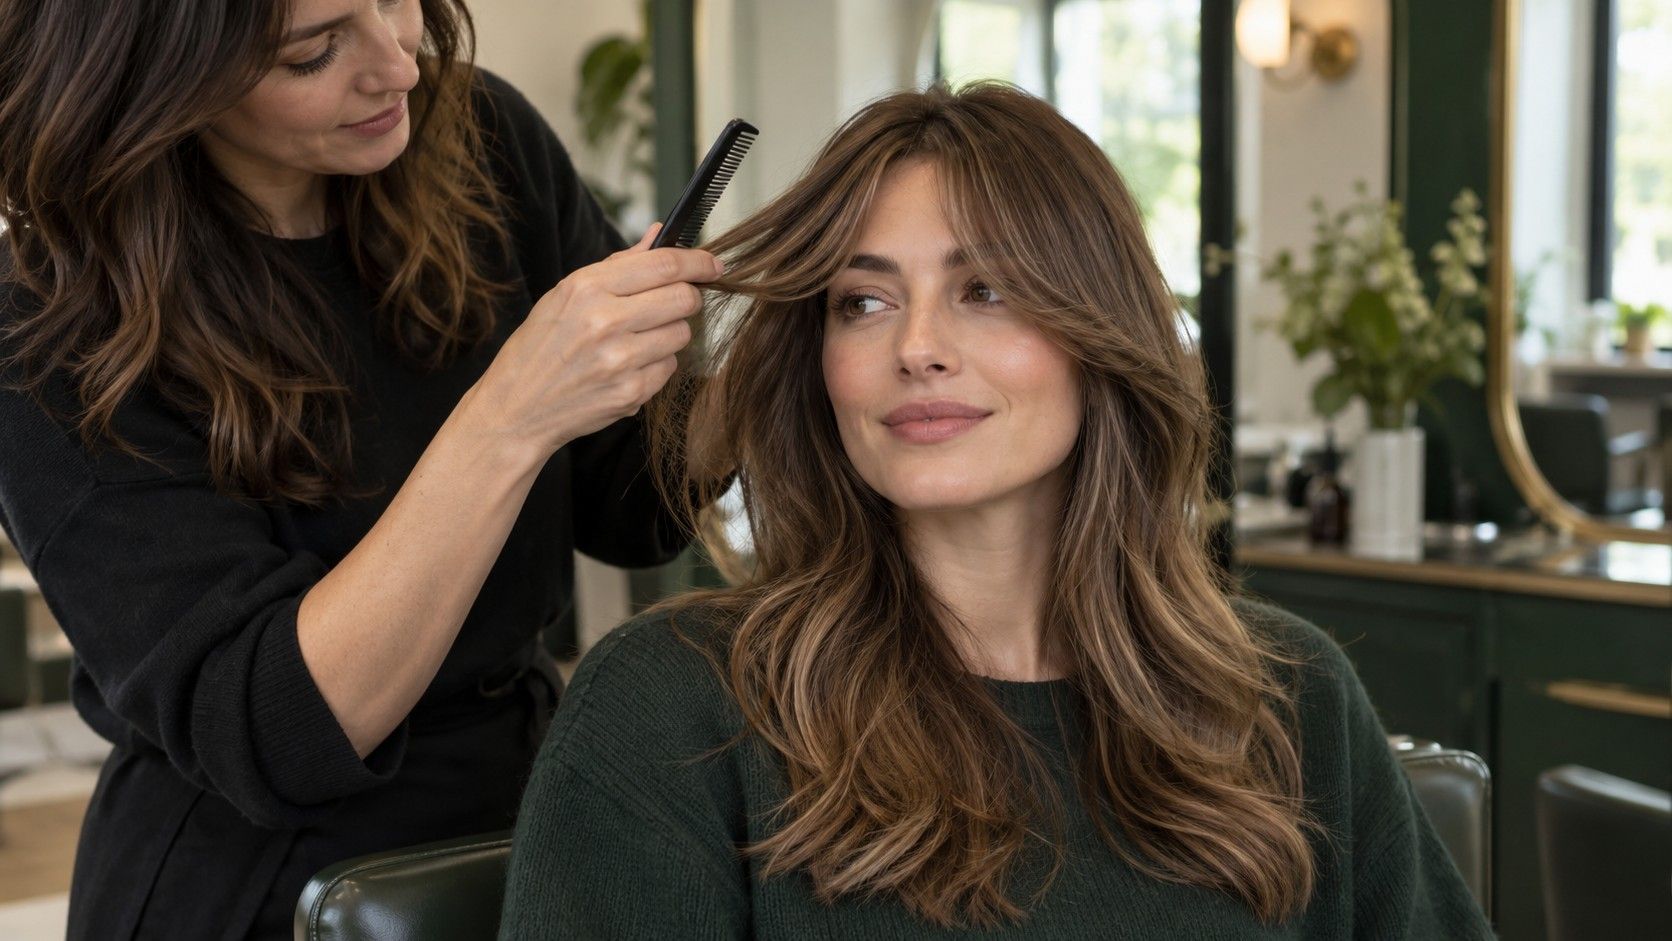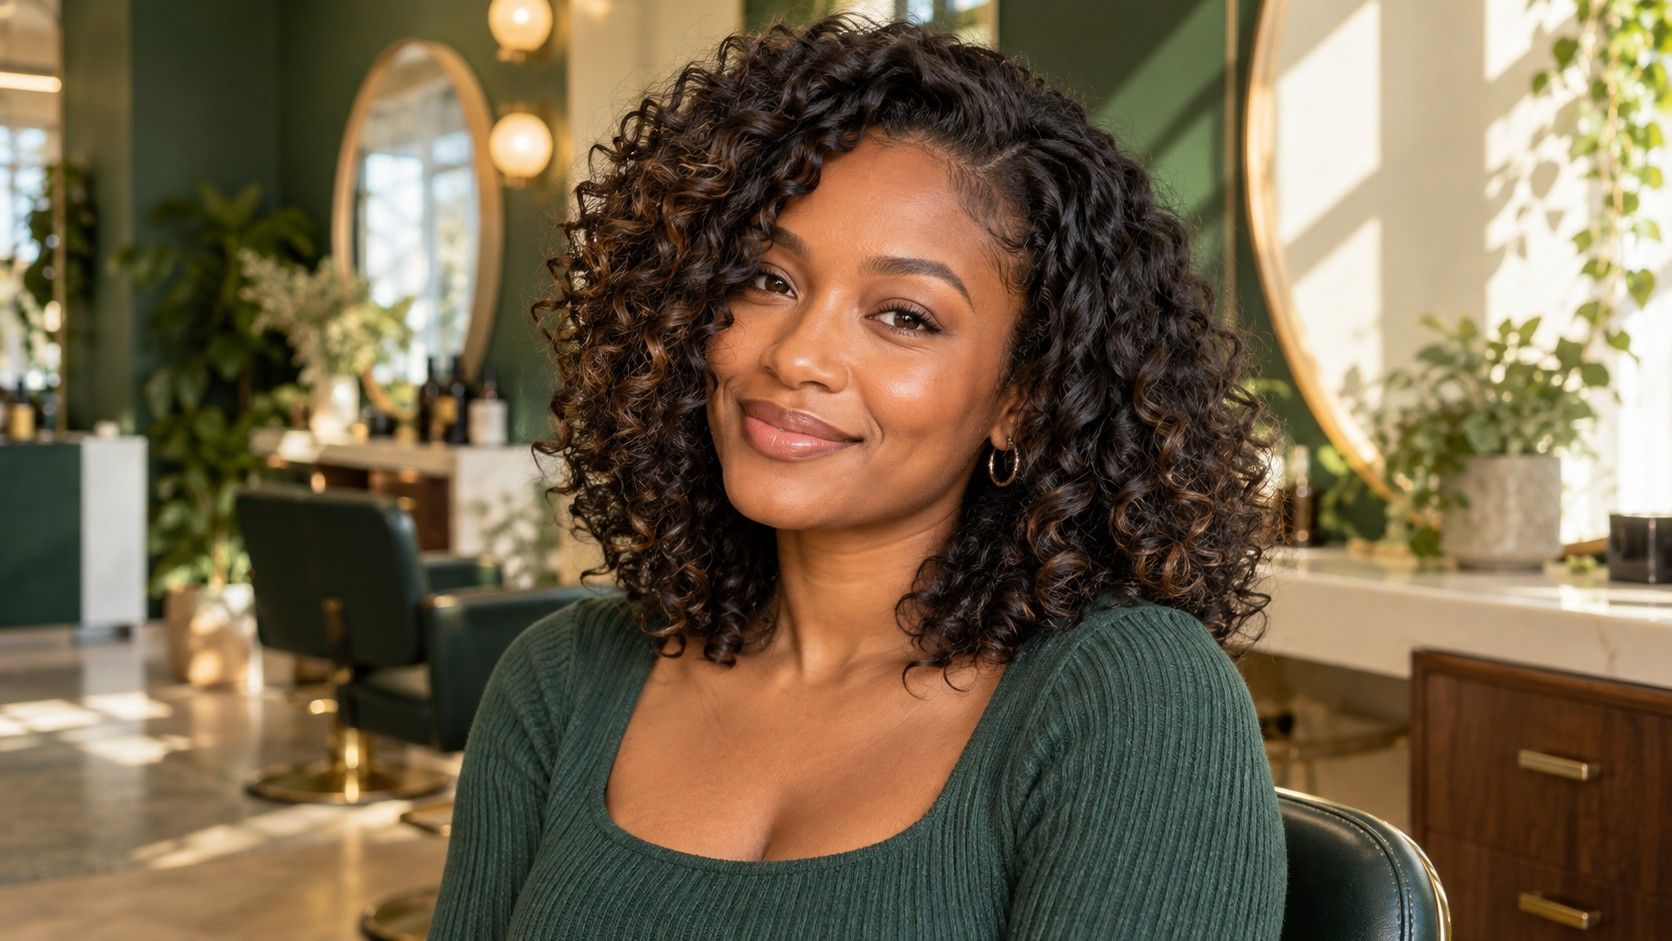
Long hair can stay long and still feel completely different around the face. The useful decision is where the shortest visible piece should land, how much hair goes into it, and whether it will behave when you skip the blow-dryer. I pay more attention to those details than to a face-shape label: two people with similar jawlines can need very different layers.
Decide what you want to keep before choosing what to cut
Put your hair into the ponytail, braid or clip you use most often. Notice the front pieces that already escape. If keeping every strand tied back matters for work or exercise, show the stylist that position before discussing cheekbone-length framing. A layer cannot be both short around your eyes and long enough to reach a low elastic without assistance. A few loose strands may be welcome; a daily collection of pins may be less appealing.
Next look at the bottom edge with your hair hanging naturally over a plain top. Is the outline full, or do the last several inches already look sparse? Long layers remove weight from selected areas. They do not add strands to a thin perimeter. If the ends look transparent, a modest trim and a few front sections may deliver a more satisfying change than layers throughout the back. Keep the density question separate from the question of how your face is framed.
Bring one reference for the front and another for the back if necessary. A photograph with swept-out framing may hide very short pieces beneath a long outer layer. Ask to see where the shortest section begins and where the longest section ends on your own head. “Keep the length” is too vague when one person means the bottom edge and another means every piece below the shoulder.
Place the first layer where you want the eye to pause
A piece finishing near the cheekbone draws attention to that area, especially when styled outward. One landing near the jaw creates a different outline and can catch on collars. Starting below the chin gives a quieter frame with less commitment. These are visual choices rather than corrections. If you like your cheekbones, there is no reason to hide them because a chart assigns your face a particular category.
For a face that reads wider through the cheeks, try holding the front sections slightly forward and let them run past the jaw. See whether that longer diagonal is what you enjoy. If your face reads long and narrow, compare it with a shorter outward bend that creates some width beside the cheeks. Do this in a mirror at normal conversational distance. A close phone selfie can make the centre of the face seem more prominent and distort the comparison.
An angular jaw can look striking beside a clean, straight frame, or softer beside a curved one. Neither is automatically better. A heart-shaped outline may suit your preference for movement near the lower face, while a narrower forehead may invite more lift around the temples. Use these ideas to try two alternatives, then describe the effect you prefer. Asking for softness at jaw level communicates more than insisting on a perfect label.
Separate face framing from layers through the whole cut
Face framing changes the hair nearest the face. Long internal or exterior layers change the shape and movement across a much larger area. You can request one without the other. Someone happy with a dense, straight back outline may need only a small front adjustment. Someone whose hair forms a heavy curtain at the sides may benefit from a wider conversation about weight placement, even when the front already sits nicely.
Ask how the front will connect to the rest of the cut when worn forward over both shoulders. An isolated short panel can look intentional, but it can also surprise a person expecting a gradual transition. Move your head and tuck one side behind an ear during the consultation. The shape should make sense in motion, including the ordinary moments when a carefully arranged front section drops out of place.
I am cautious with reference photographs that show every strand curled away from the face. Styling can make a simple cut appear extensively layered. Request an explanation of the underlying shape without the brushwork. If you want the result with air-dried hair, the stylist needs to assess that texture and fall rather than copy a photograph made with rollers, extensions or a finish you do not intend to reproduce.
Let texture determine how short you can comfortably go
On very straight hair, differences between layer lengths may show clearly. A small mistake in placement can feel conspicuous because there is little natural bend to blend it. On wavy hair, a shorter piece may spring upward or flip at a different point from the longer hair beside it. Observe your own pattern after washing, without stretching it flat. Record where the wave changes direction around the chin and shoulders.
Curly hair needs a discussion of dry length and shrinkage before any front section is shortened. Do not assume that a piece held at the jaw while wet will stay there once dry. Different areas of one head can contract differently. If your front curls spring more tightly than the back, that detail matters more than a general face-shape recommendation. Ask the stylist how they will check the final frame in the state you normally wear.
Density and strand thickness are different considerations. Fine strands can form a dense head of hair; coarse strands can grow sparsely. Ask where weight would be removed and what will remain at the ends. Thinning techniques are not interchangeable with adding long layers. If you have disliked fuzzy ends or short pieces sticking out after previous cuts, describe that experience rather than simply saying that layers never work.
Test the part and the styling effort together
A central part puts two frames beside the face. A side part changes the amount of hair on each side and can make one front piece appear much shorter or heavier. Switch between your usual part and the proposed part before the cut. A style that depends on a new part may need drying in that direction, and your hairline or cowlick may resist. There is little value in a beautiful reference that fights your morning habits.
Try the intended bend with a brush or your fingers before committing to a short face frame. Can the section turn away from the face without falling over your eye? Does it need heat to hold that curve? If a stylist demonstrates the finish, ask to see the direction and section size, then repeat the motion yourself where possible. A salon demonstration becomes much more useful when it reveals what your hands will actually need to do.
Leave room for less polished days. Look at the framing tucked behind your ears, under a hat and with your preferred glasses. A short section can rest on a spectacle arm or spring forward when released. Those details do not make it a poor choice; they make it a specific choice. If you need it secured most days, a longer starting point may be a better first step.
Take a clear request to the appointment
Use a sentence with landmarks: “Keep a full bottom edge, begin the front below my chin when dry, and make sure it reaches my low ponytail.” Add your normal part and whether you air-dry. This gives the stylist a practical starting point while leaving space for their assessment. Show the length with your finger, because the phrase long layers can describe very different cuts.
Before leaving, look at the hair from both sides and from behind, then move the part once. Ask what the shortest pieces will do as they grow and which area is likely to need attention first. There is no universal refresh schedule: your growth, styling routine and tolerance for changing shape decide that. Take a photograph of a finish you can reproduce, not just the most elaborate salon version.
If you are uncertain, start with less hair in the face frame or a lower starting point. You can decide later whether you want more movement. The aim is a long haircut that still works when you are carrying bags, rushing out or letting it dry by itself. A layer belongs in your routine as well as in a photograph.