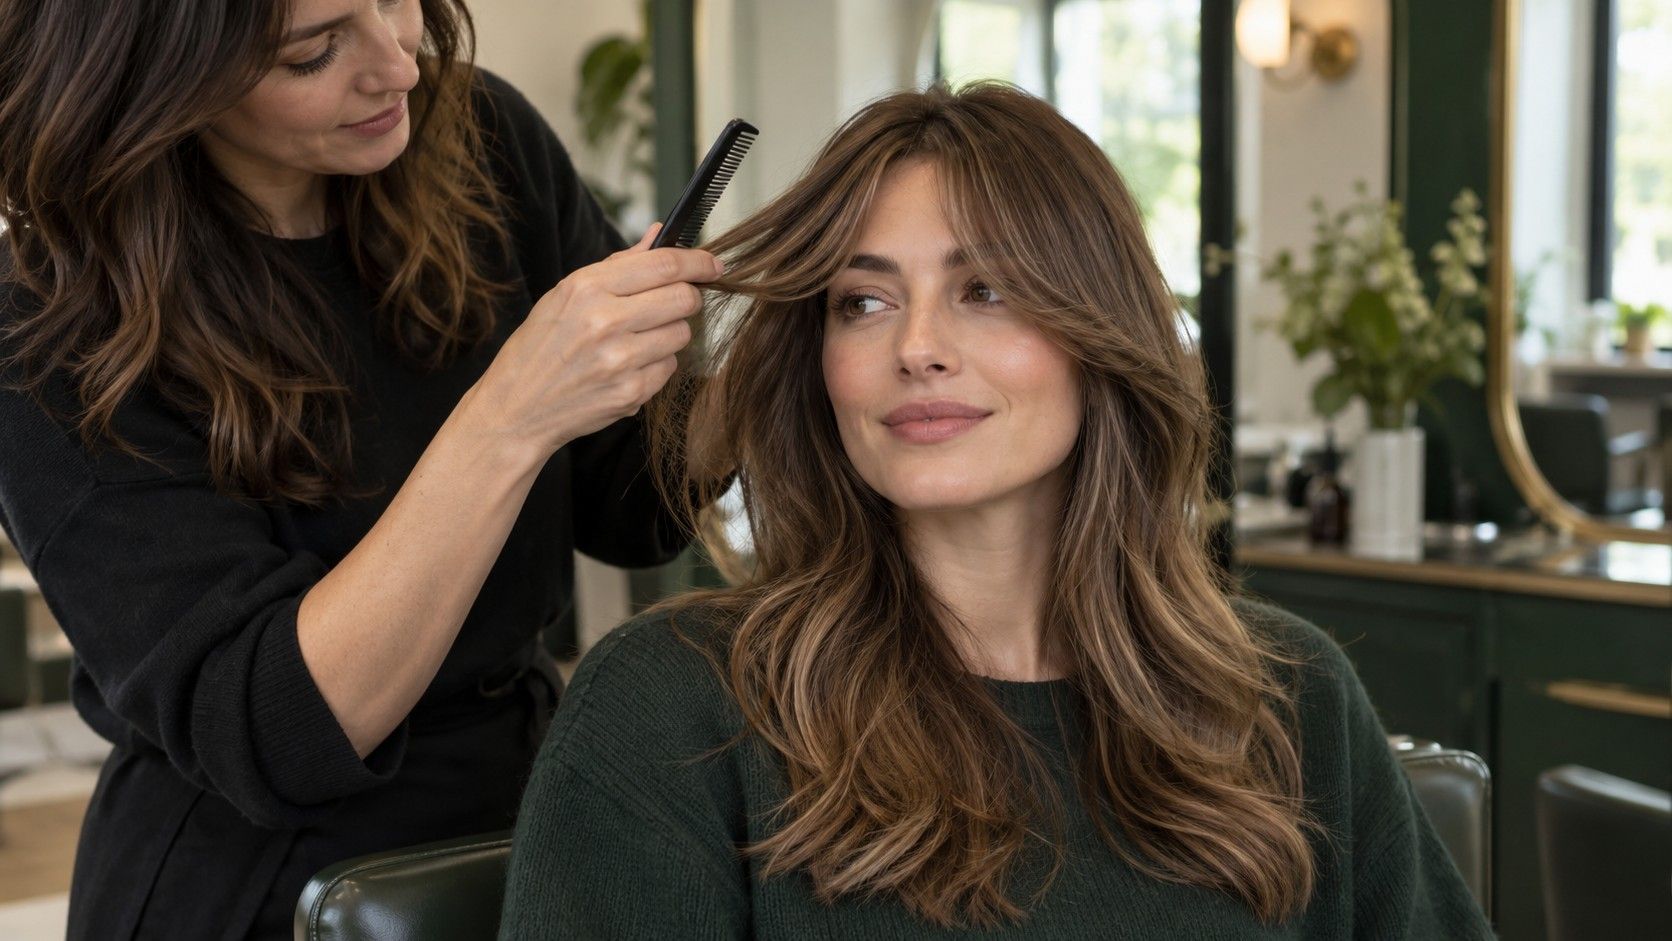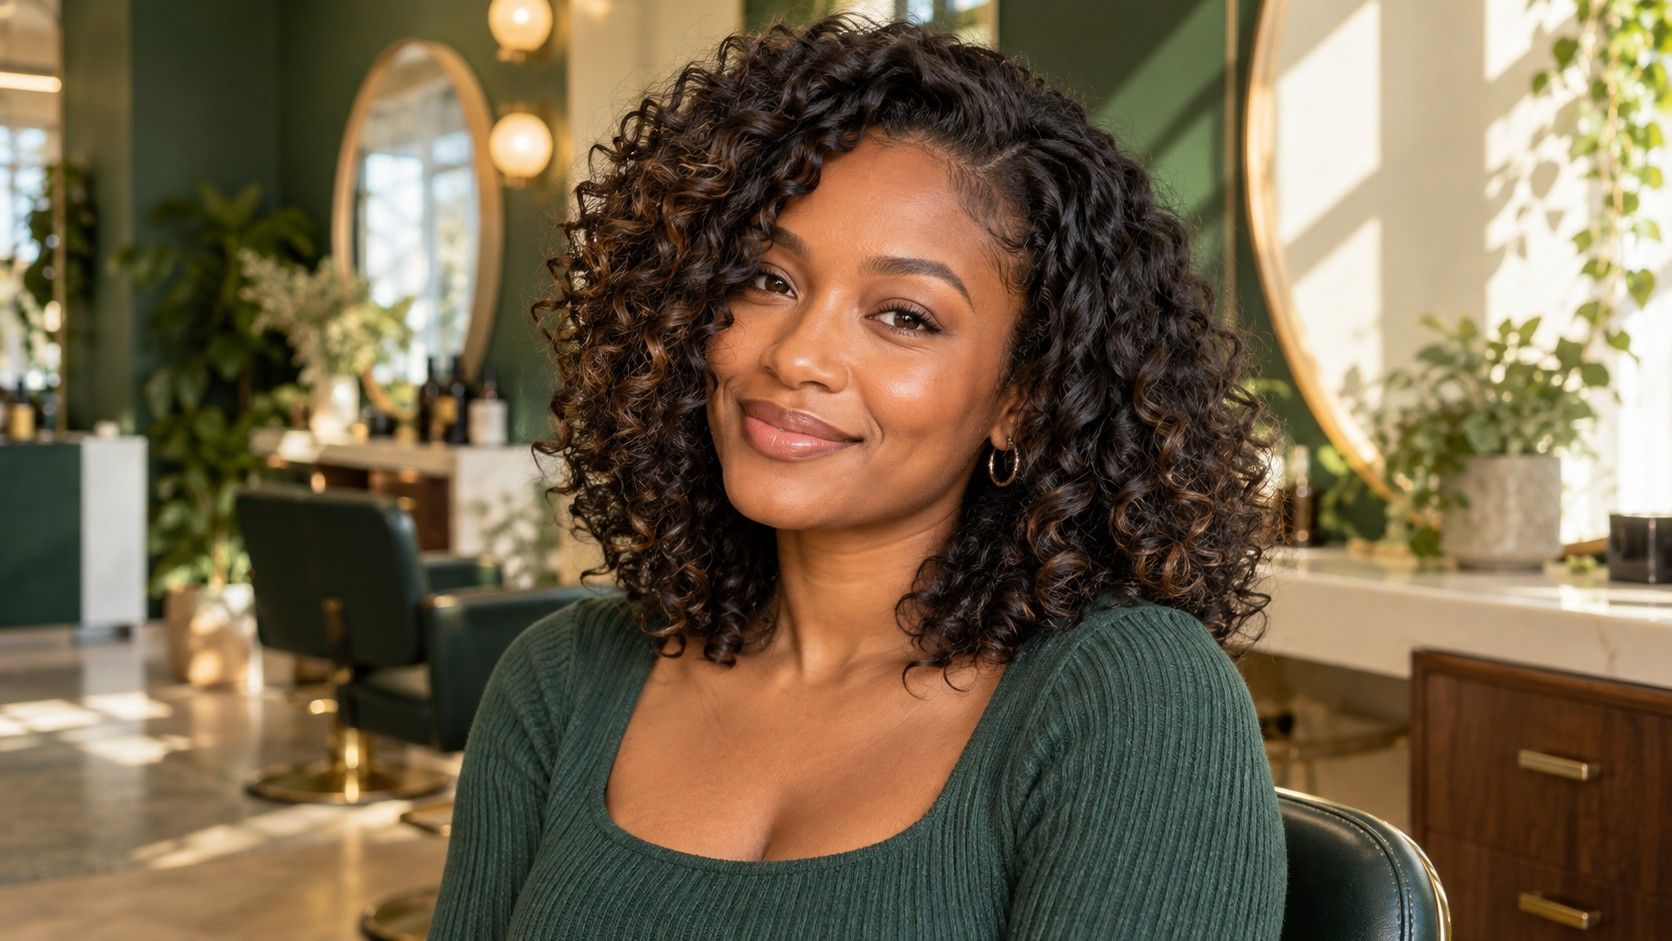
The first question with fine hair is how much of the outline you want to keep. A photograph may show airy layers and a substantial bottom edge, but your own density decides how much hair is available for both. Face shape helps choose the placement of a fringe or front section; it cannot tell you how many layers your ends can support.
Distinguish a fine strand from a sparse outline
Fine describes the diameter of individual strands. Density describes how many hairs grow across an area. You can have fine hair that feels abundant, or fine hair with a more visible scalp and light ends. Bring that distinction to the consultation. A haircut designed to remove weight from a dense head of fine hair may be a poor reference if your main concern is preserving coverage around the temples.
Look at your hair dry against a plain contrasting top, then lift it away from your shoulders. Where does the perimeter stop looking substantial? That observation can help you discuss length without declaring that all fine hair must be short. Some people happily keep a lighter, wispy edge. Others prefer a compact line and are willing to lose a few inches to get it. Decide which result you actually want.
Be specific about changes you have noticed. A long-standing fine texture is a styling consideration; a sudden change in density or unusual shedding deserves a separate discussion with a qualified health professional. A haircut can change the appearance of an outline, but it cannot establish the cause of a change in your hair. Keep the salon conversation focused on the shape the hair can currently support.
Choose the bottom edge before adding movement
A blunt-looking bob, a longer one-length cut and a lightly layered shape can all frame the same face differently. Start by comparing where the edge lands: near the chin, between chin and shoulder, or below the collarbone. The line creates an immediate visual landmark. A chin-length edge can make the jaw more noticeable; a longer line can let the front pass it with less emphasis.
If you want a softer edge, ask the stylist how they would achieve that while retaining the amount of hair you like at the bottom. Extensive layering and a dense perimeter may compete when there is limited hair to distribute. A small amount of shaping near the front may provide enough change. You do not need to accept layers throughout the back just because your reference has movement around the cheeks.
Check the cut with your normal posture. Hair resting on the shoulders may kick outward even when it hangs straight at another length. A collar can interfere too. If you dislike that flip, ask whether a slightly shorter or longer edge would sit more conveniently. Face shape is only one part of this decision; where your hair meets your body affects the daily result.
Use a small front change to test the proportion
For a rounder outline, compare a front section that runs below the jaw with one that finishes around the cheek. If your preference is for a longer visual line, the lower starting point may be useful. For a longer face, try arranging some hair across the forehead or outward beside the cheeks. These are ways of changing emphasis, not rules about which face deserves which haircut.
With an angular jaw, decide whether you enjoy the echo of a straight edge or want a softer bend beside it. A heart-shaped face may invite a fuller-looking lower frame, but avoid spending more hair on that effect than your perimeter can spare. If the temples are already sparse, a broad, deep fringe can leave the sides feeling less covered. Ask the stylist to show the proposed fringe section before cutting.
A light front frame is still a commitment if you rely on tucking or tying your hair. Put it behind your ears and into your normal ponytail during the consultation. Decide whether loose front pieces would bother you during work. I would rather choose a slightly longer frame that stays put than admire a shorter one only when it has been carefully arranged for a photograph.
Make fringe density and hairline part of the plan
A fine fringe can look deliberately light, but a reference with a thick, opaque fringe may require more density than you have in that area. Look at the image where the fringe meets the rest of the hair. How far back does the section begin? How much remains beside the face? Ask the stylist to explain the trade-off before choosing the width or depth of yours.
Your hairline may split the fringe or push it upward. Fine strands can reveal those separations clearly, especially after sleep or when the roots become oily. A longer side fringe may be easier for some hairlines; a shorter piece may behave better for others. Test the direction with damp hair and your ordinary drying routine instead of assuming that a photograph proves the shape will lie flat.
Glasses add another contact point. A longer fringe may land on the top of the frames, bend around them or fall into your eyes. Try the proposed position while wearing the pair you use daily. Mention if you frequently remove and replace them, because the hair will move each time. A useful fringe has to work during those small interruptions as well as directly after styling.
Judge volume by the routine you can repeat
A salon finish can make the roots stand away from the scalp and separate the ends into a fuller-looking arrangement. Ask what steps create that effect. If it takes sectioning and a brush technique you will never use, request a second view with a simpler finish. A haircut may be good while the photographed styling is unrealistic for your mornings. Separating those two questions prevents disappointment.
Show the stylist how your hair sits when air-dried if that is your usual method. Fine waves may lose their pattern when heavily brushed; straight hair may show every layer more distinctly. Ask whether the proposed shaping is likely to need a bend from a brush or heat tool to look like the reference. No face-shape formula can answer that without looking at your texture.
Use products in modest amounts according to their directions and judge the result on your own hair. More product does not automatically mean more lasting body. If your roots collapse quickly, explain when it happens and what you applied. Changing several products, the part and the haircut simultaneously makes it difficult to tell which change helped. A simple routine is easier to adjust after the appointment.
Bring a request that protects your priorities
Try: “I want the edge to look substantial, I wear my hair air-dried, and I only want a small amount of framing below my cheekbones.” Add whether everything needs to tuck behind your ears or reach a tie. This gives the stylist clear constraints. Let them tell you if a reference requires more density, a shorter overall length or more daily styling than you want.
Choose reference photographs with a similar amount of visible hair at the part and ends. Hair colour, lighting and styling can make density difficult to judge, so use more than one view where possible. A photo of the back is particularly useful for showing whether you like a solid perimeter or an intentionally feathered one. Describe that preference instead of asking vaguely for thicker hair.
Before leaving, inspect both sides after moving the part and letting the hair settle. Ask how the shape is expected to change as it grows and which detail is likely to need attention first. You may discover that a clean edge and a modest front adjustment give you all the change you wanted. There is no obligation to add another layer simply because the hair is fine.